Turkey Craft for Kids
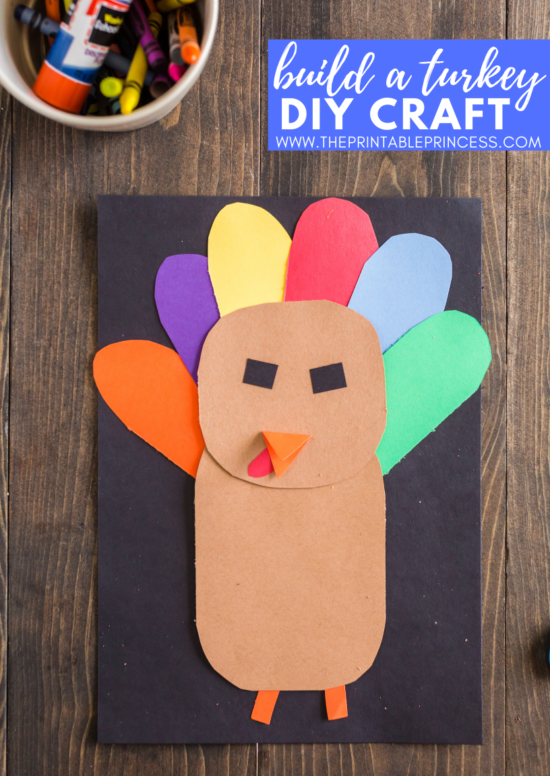
It wouldn't be November without some kind of turkey craft, am I right? When kids discover that they can make a turkey by tracing their hand, their minds are blown. And while hand turkeys may be a rite of passage in Kindergarten, today I wanted to share with you another idea for an easy peasy Turkey Craft for Kids. This is one that I have made in my classroom for years. Just like the Pumpkin Patch Craft, there's no tracers involved. Instead students round corners and make a few simple cuts to create their own unique turkey.
This article, along with many other articles on The Printable Princess, contains Amazon affiliate links. If you purchase through the links I earn a small commission. Clicking these links does not cost you any extra but helps this website to keep great articles and freebies coming your way.
DIY Turkey Craft for Kids
This activity is completed as a whole group. Not only does it make a great fine motor activity, but it also encourages students to listen and follow directions. I always have a completed example to show the students what we are going to be making. But then I also make the craft with them. There are no tracers – just simple rounding corners and following directions.
I pass out each piece – one at a time and we work on the project step by step. Except for the feathers, once the students have done one, they usually have the hang of it and can do the other independently. First I model how to cut the paper and then the students cut the paper.
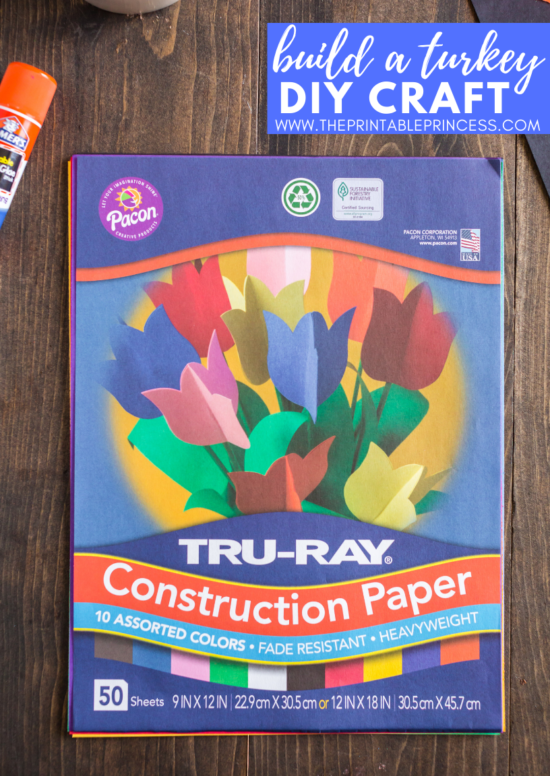
All you'll need for the project is construction paper, scissors, and glue sticks. You can use whatever color of background you'd like. I usually use a black background so that the feathers pop. But I've also used blue and green too – whatever you have on hand.
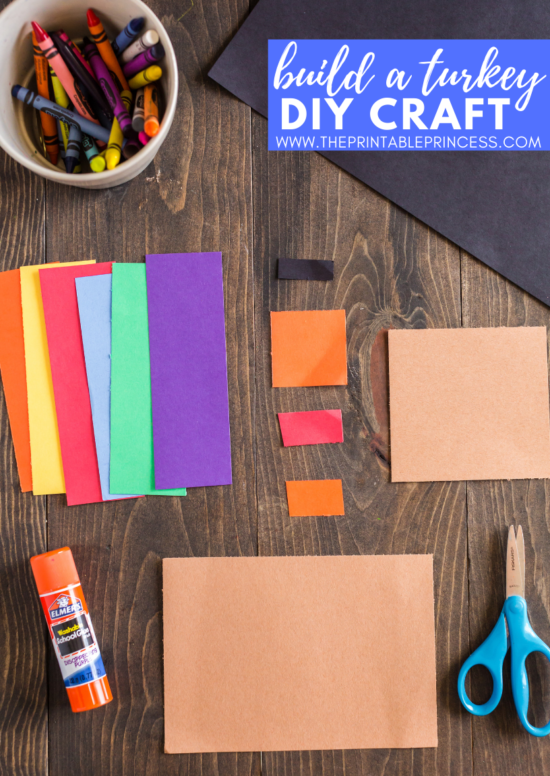
Each student will need:
- Brown paper: 1 square, 4×4 in. (head)
- Brown Paper: 1 rectangle, 4×6 in. (body)
- Red, Orange, Yellow, Purple, Green, Blue: 1 rectangle (each), 2 x 6 in. (feathers)
- Orange paper: 1 rectangle, 1 x 1 1/2 in (beak)
- Orange paper: 1 square, 2×2 in (feet)
- Black paper: 1 rectangle, 1 x 1/2 in (eyes)
- Red paper: 1 rectangle, 1 x 1 1/2 in (wattle)
Cutting Directions:
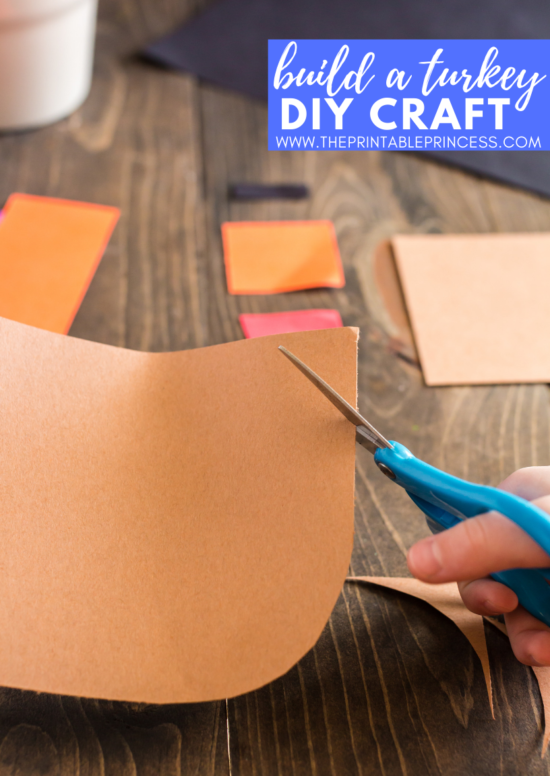
Start with the large 4×6 piece. Have students cut to round each of the corners of the rectangle to make the turkey's body.
Repeat this with the head and the feathers.
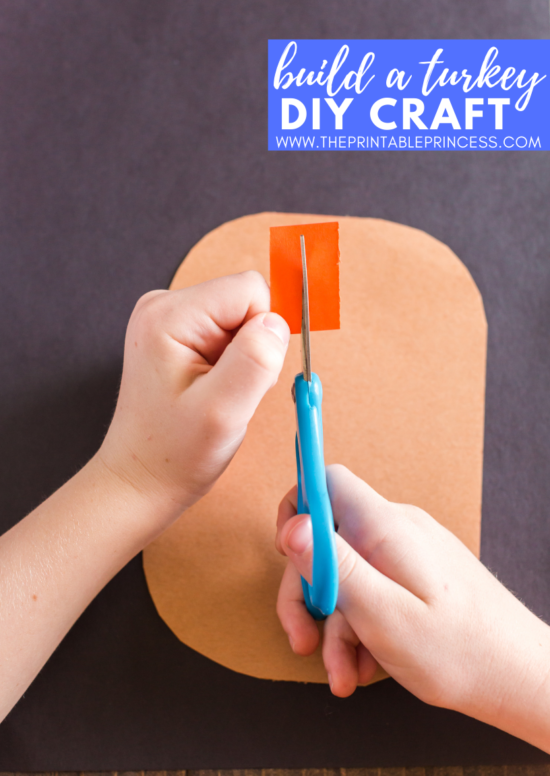
For the smaller orange piece (1×1/2), have students cut it in half lengthwise to become the legs.
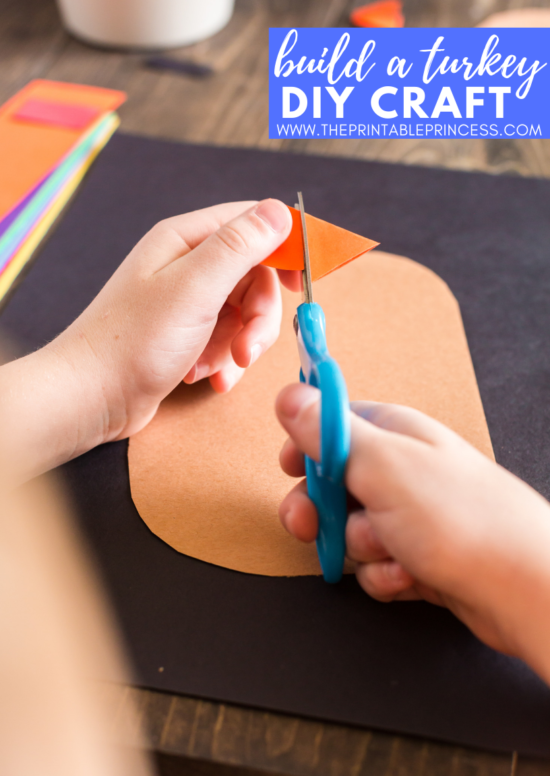
Have the students fold the orange 2×2 square in half. While the paper is still folder, cut a triangle to make the beak.
Then have students cut the black rectangle in half to make to small pieces for the eyes. You can give students the option of rounding the corners of the eyes for circle eyes.
Finally, take the small red rectangle and have students round the corners to create a small oval shape for the turkey's wattle.
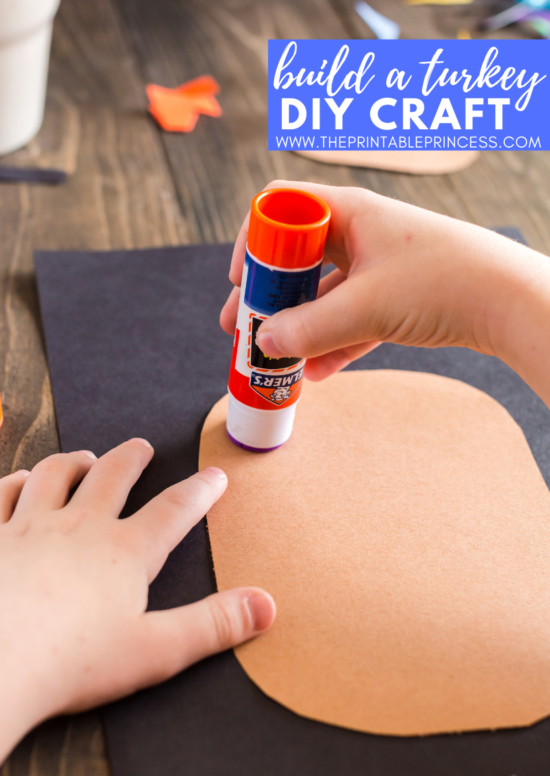
Have students glue on the body first, about two inches from the bottom of the paper.
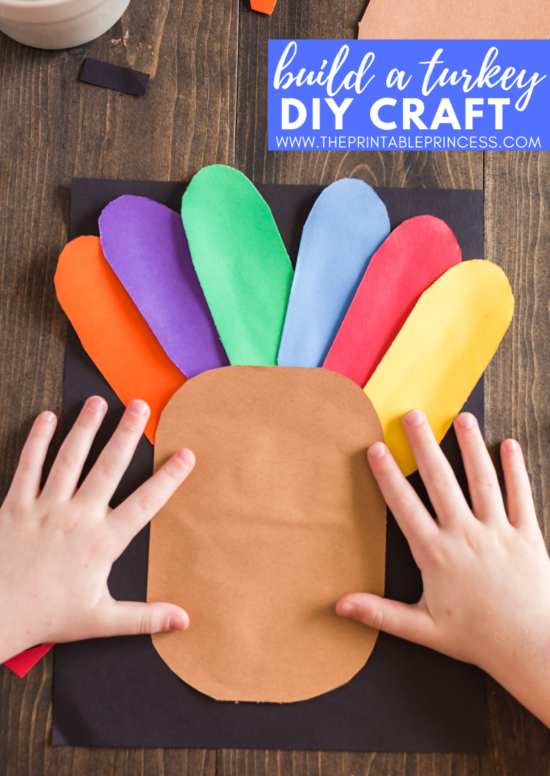
Next glue on the feathers, tucking them behind the body and overlapping slightly. They do not have to be glued on in a certain color or perfectly spaced – and that's what makes this activity so adorable and each piece unique. I let each student pick their own color order for the feathers.
Glue on the head over the feathers. Glue on the face and add the feet.
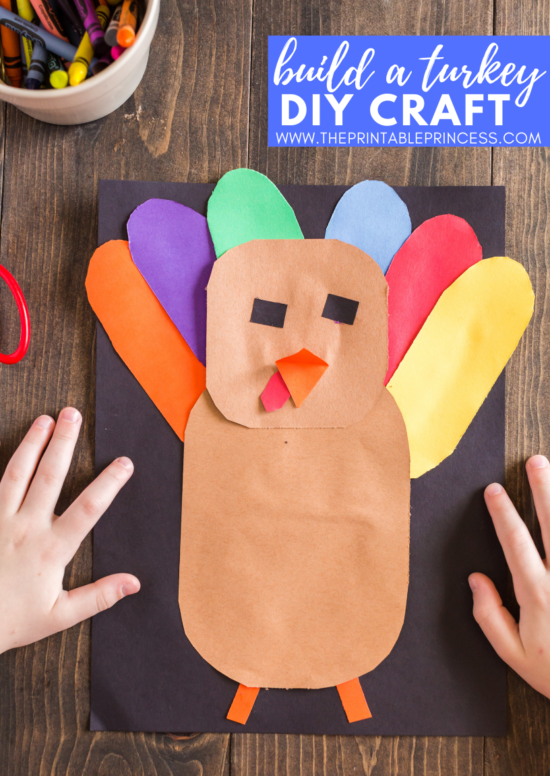
This DIY turkey craft makes an adorable window display or bulletin board during the month of November.
For step-by-step directions on how to make the turkey craft, check out this video:

