10 Tips for Managing Classroom Centers
There's tons of different ways to “do” centers. But there's a few basics or foundations that are important no matter what centers looks like in your room. I love giving students the opportunity to work either independently and collaboratively on tasks.
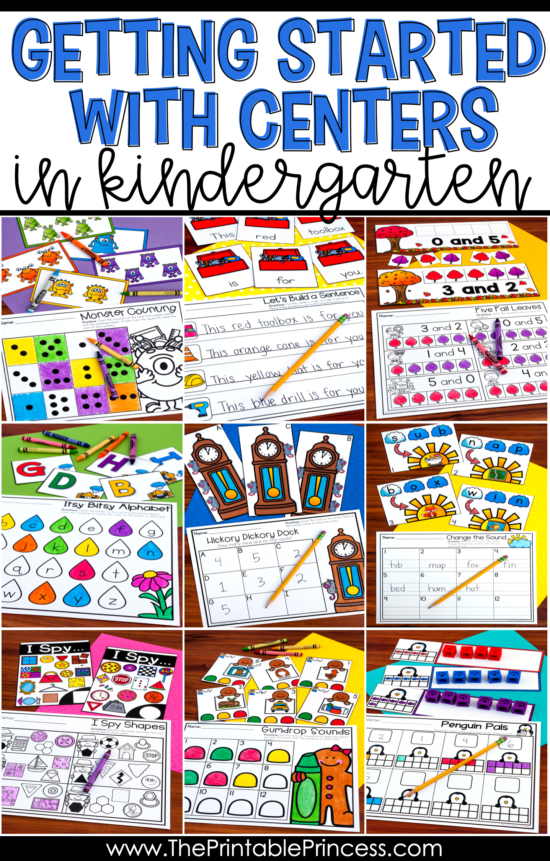
However, centers can also be a stressful time if you're not prepared and your students are not trained. Today I wanted to share with you my top 10 tips for managing classroom centers.
This article along with several others on The Printable Princess site contain Amazon affiliate links. These links make shopping easier for you, don’t cost you anything to use them, and help me to keep great ideas and articles like these on this site.
Tips for Managing Classroom Centers
1. Make a Plan:
First decide what you want centers to look like in your classroom. This is probably the most important of the tips for managing classroom centers. There's a few important things you need to ask yourself.
Where do you want students to work? Where will they get their supplies? What happens if they have a question? What do they do if they finish early? Ask yourself these questions and make decisions so that you can then teach your students.
You can't teach your expectations if you don't know what they are. #amiright Your plan may need to be changed and tweaked each year or even as the year progresses, but find a plan, think it through, and then implement it. If you're new to teaching don't be afraid to ask someone in your grade level for ideas.
2. Model Your Expectations and Procedures:
We model expectations and procedures for unpacking our book bags, lining up, using the restroom, etc., right? Center time is no different! It is important to model your expectations and procedures for centers. You need to show students step by step. And then once you've modeled, model again, and again.
If your goal is to have centers that run smoothly, it is important to take the time to show your students what you expect. This not something you can accomplish in a few days, especially with younger students. This is a progress that takes several weeks.
Show students what you expect of them in centers. Model examples – but also model NON-examples. I get silly and model for my students what they shouldn't be doing. I let them tell me what I'm doing wrong. Yes they think it's funny, but it also helps them see how they shouldn't be acting.
Set the tone with your voice too. If you want students to use a quiet voice during centers, you need to use a quiet voice too.
3. Make Yourself Available:
Most teachers use center time to pull students and work on small group guided reading or math. While this is the perfect way to use your center block, you might want to wait on pulling groups. At least a few weeks.
When you're first starting centers it is important that you make yourself available. Circulate the room to observe, monitor, and redirect if needed. Observe students who work well together (and those who don't), watch to see who is on task and take notes. And praise. Lots of praise. Point out the good behavior that you want to see repeated.
4. Be Prepared:
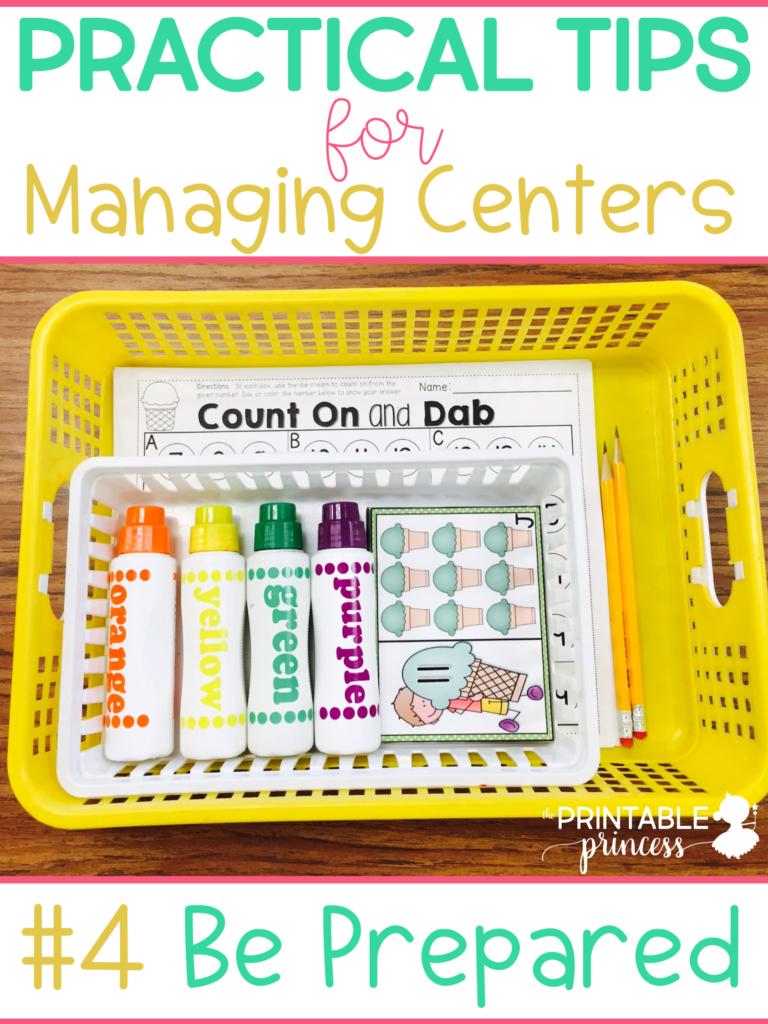
This may sound like a no brainer, but be prepared for centers. Make sure that students have everything they need to be successful and complete their center. Unless it's an activity that requires traveling, I prefer to have my students stay in one spot during centers. I don't want students walking all around the room to find pencils or crayons or manipulatives.
Instead everything they need goes in a basket and the basket goes where they will be completing the activity. You can find these baskets on Amazon. They also come in pretty neutral colors too. The center pictured below comes from my BIG monthly centers packs.
5. Smaller is Better:
You know that expression “bigger is better”? Maybe when it comes to coffee mugs or purses, but not in centers. Larger groups of students create more noise, more opportunities for arguing and off-task behavior.
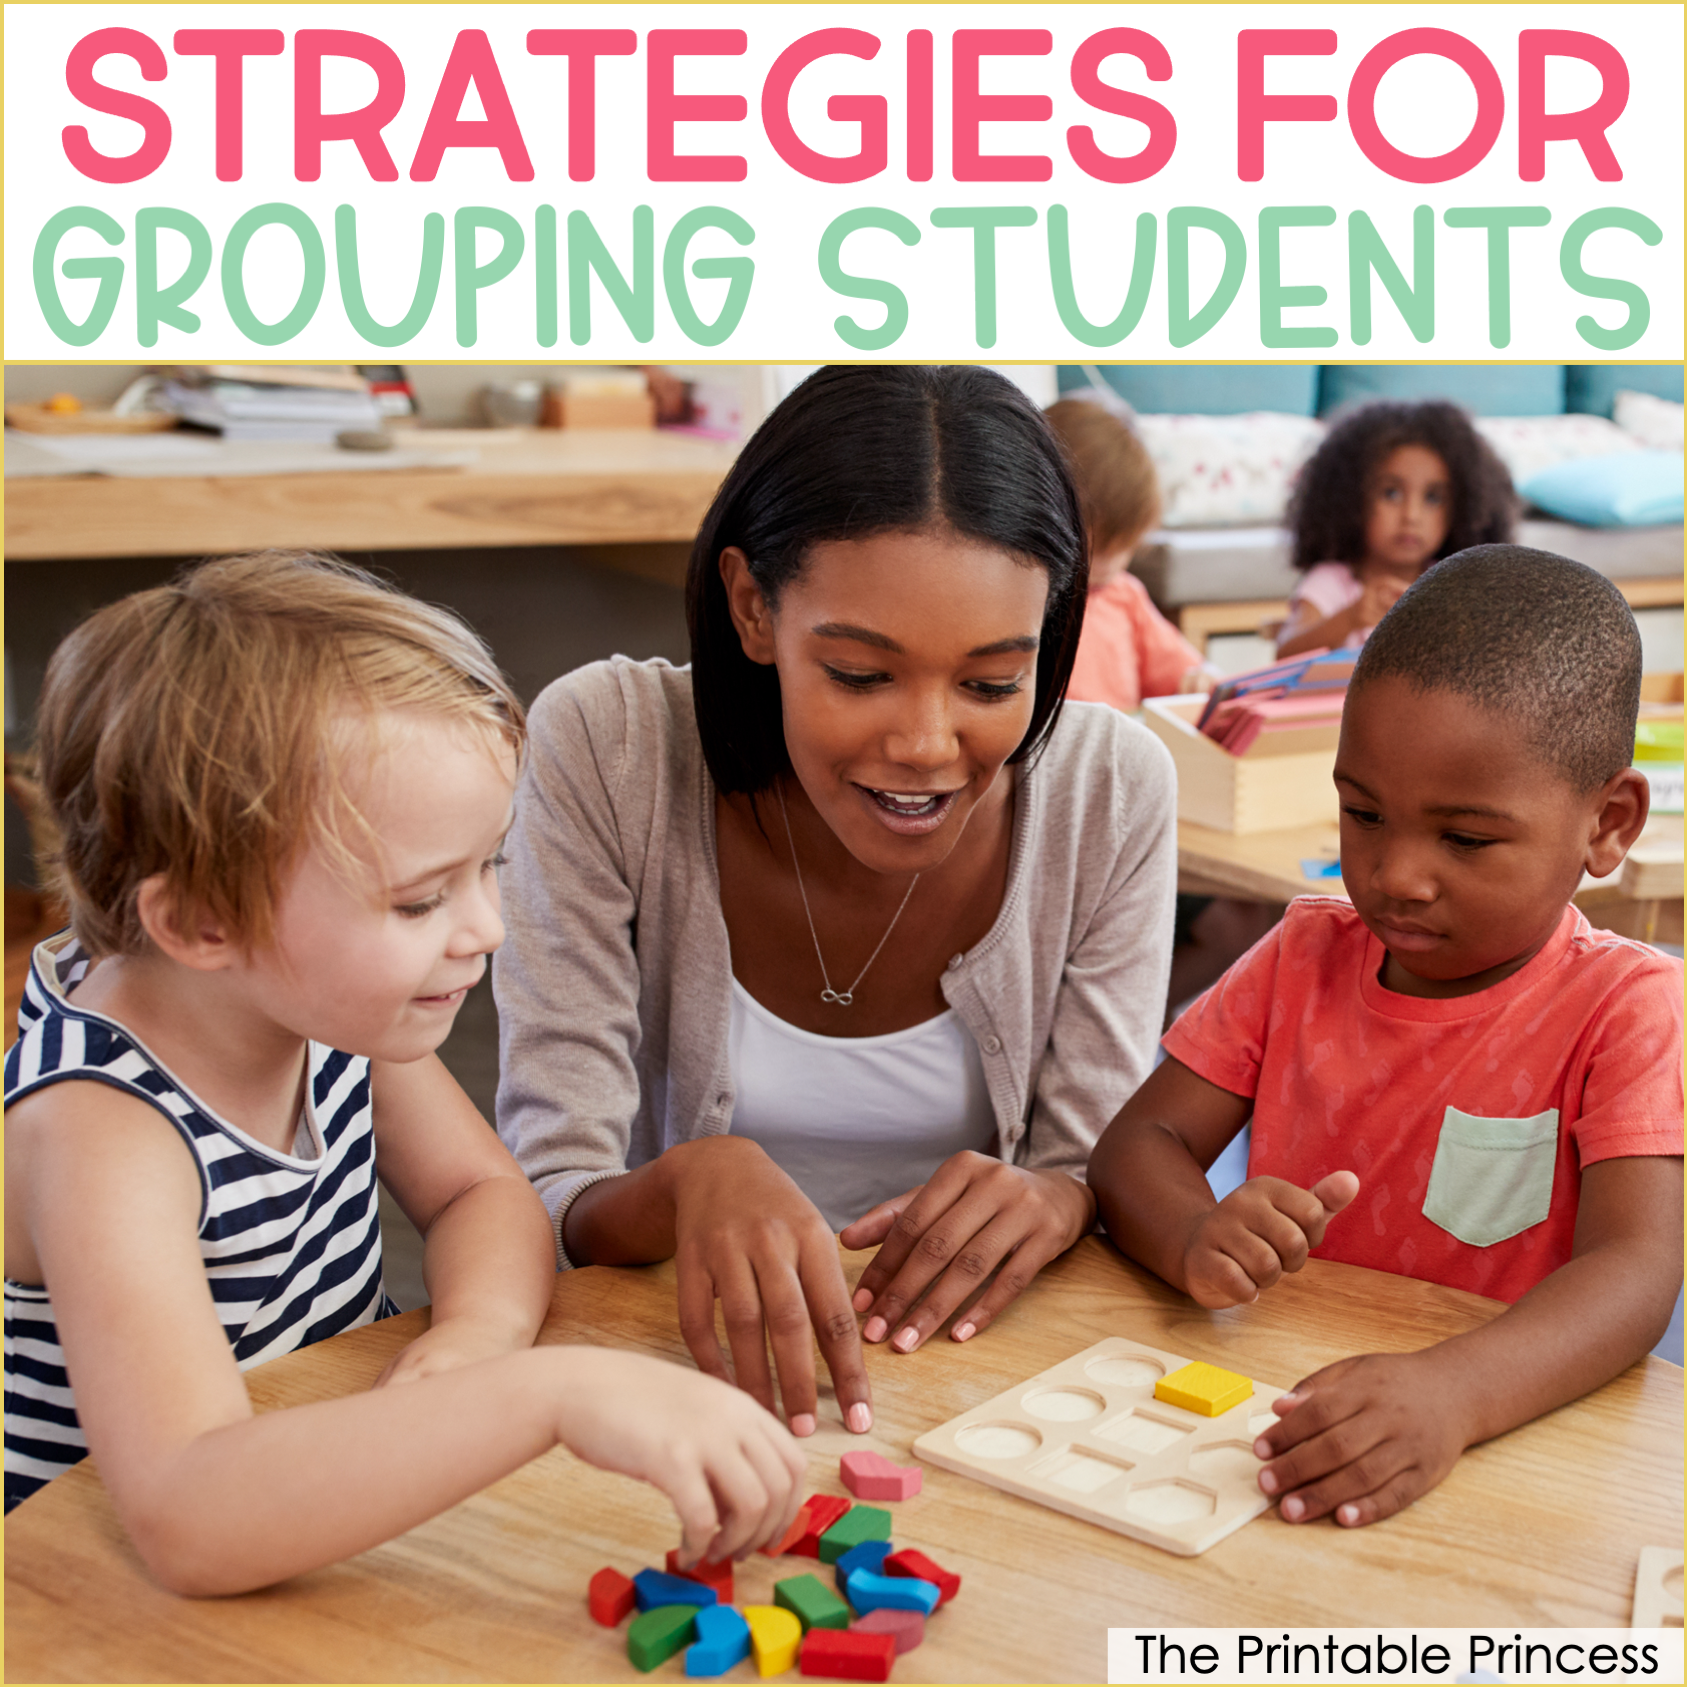
I love having two students at a center. I think that's a great number because students have a partner to work with but it's not too many students that they argue over supplies or disagree on how to complete an activity. If you have four students working in a center, try to have two sets of supplies, that ways students can work in pairs.
6. Center Time is Practice Time:
Center time is not the time to introduce new skills. It's not the time for students to work on something you taught once. Center time should be used for practice and review. You don't want to make the work too hard that students get frustrated or can't complete the work and then become off task.
It's also important that you differentiate the activities. While a doctor wouldn't give all of his patients the exact same prescription, we shouldn't be having all of our students do the exact same activity in a center. In my center kits, I do provide differentiation whenever possible – for this exact reason. You may have some students ready for numbers to 20, while others are still working on numbers within 10.
7. Provide “I Can” Visual Directions:
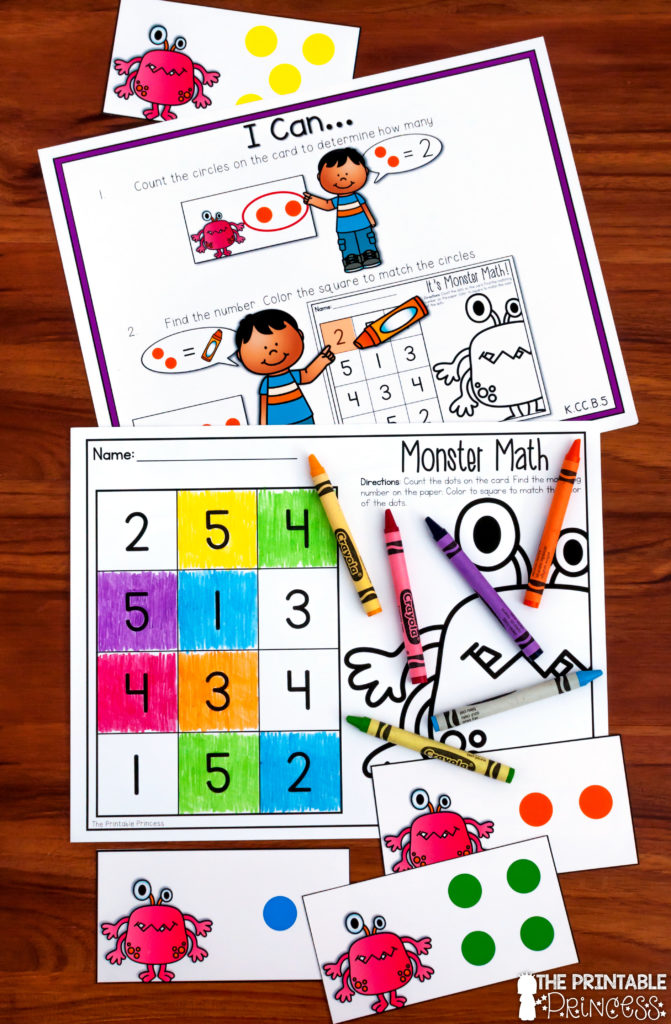
Managing classroom centers is MUCH easier if you have some sort of visual directions or “I Can” charts for students. For one it's great when administration walks through. They can see exactly what your students are supposed to be working on.
But “I Can” cards also serve as a reminder to students of what they are supposed to be working on and doing in the center. Here's an example of the “I Can” cards I include with all of my big monthly centers packs and 6 Pack Centers sets.
8. Switch It Up:
Just like adults, students get bored with doing the same thing over and over. While it's important to keep things consistent, it's important to switch up that consistency. I know. That makes absolutely no sense – so let me explain.
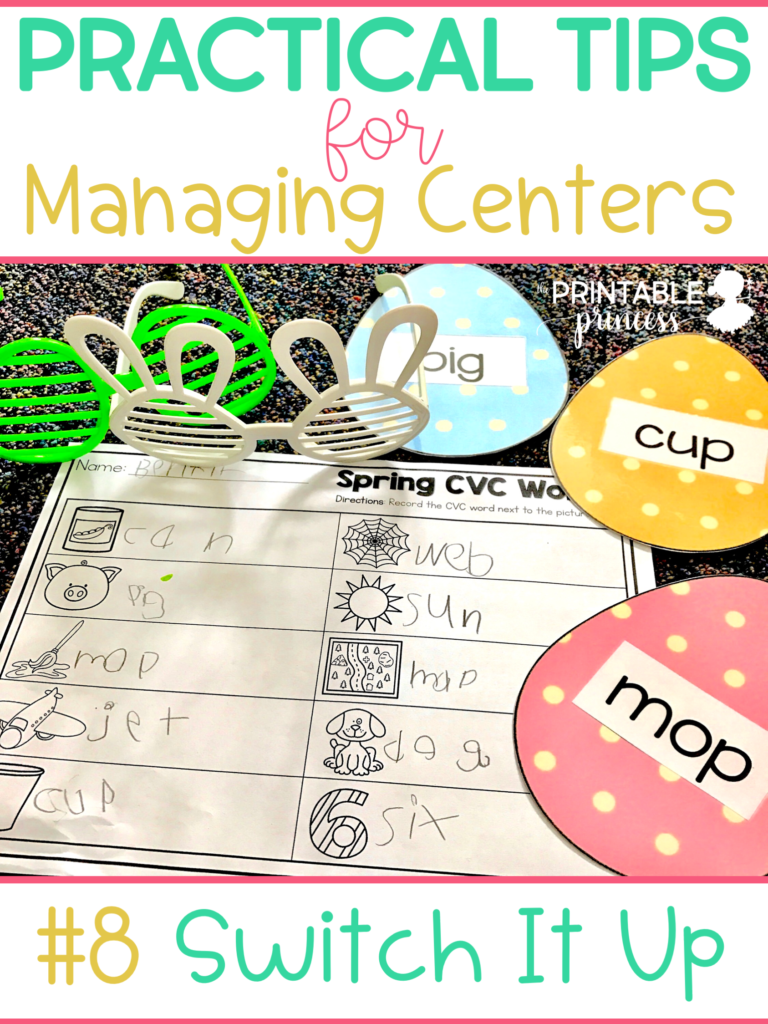
I think it's great to always have the same types of centers: technology, listening center, pocket chart center, Write the Room, reading/books, etc. However, you can't keep the activities the same all year long. Switch out the skills (this one is obvious), but you can easily make a center fun and new by changing up the writing utensils, the clipboards they use, or even adding some fun glasses.
You can find this FREEBIE in my TpT Shop. As you can see it makes a great center!
9. Accountability is Key:
When managing classroom centers, is important to have an accountability piece. Obviously a recording sheet would work as an accountability piece. You could also use the reports generated by computer programs or apps. If you have iPads or iPods in the classroom, have students take a picture of their completed puzzle, pocket chart, or activity.
If none of these methods work, consider quickly walking around the room in between rotations. This allows the opportunity to check the work that students did during that center rotation.
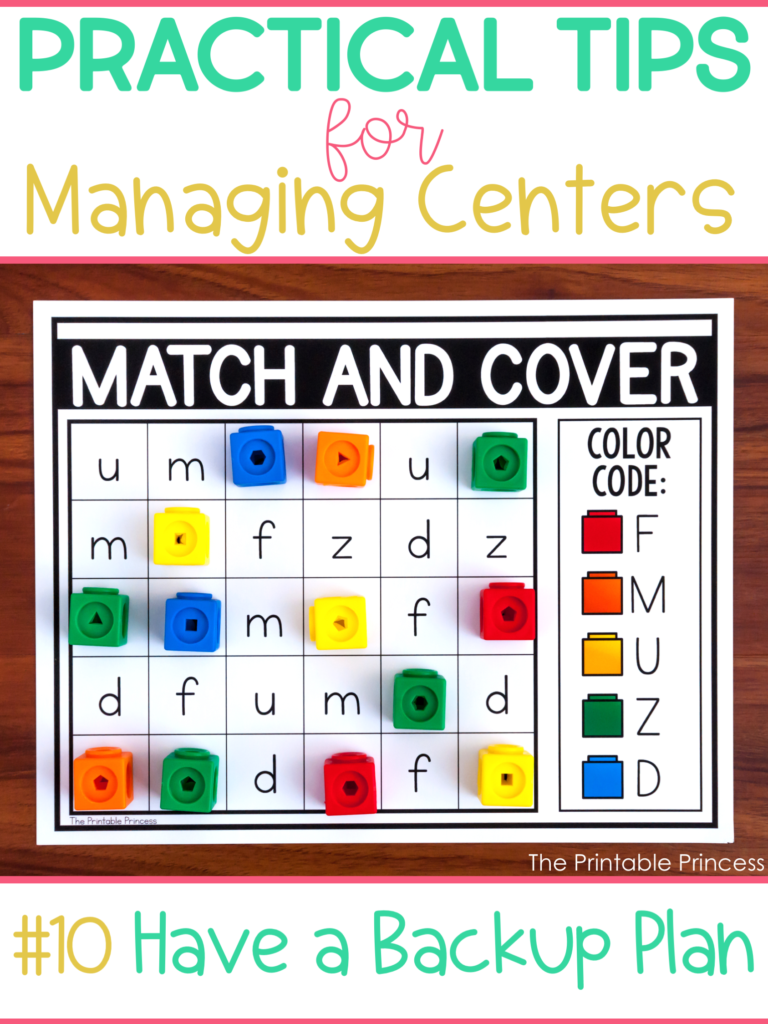
10. Have a Back-Up Plan:
To finish off our 10 tips for managing classroom centers, the last one involves focusing on what happens if students finish early. If there's not a plan or procedure in place, you'll quickly find that students with nothing to do is a set-up for behavior problems. You'll need to decide if you want students to read a book or provide some type of “dessert tub” activity.
For students that finish early I like to have things on hand where they can work at their own pace and that doesn't need a recording sheet. These are things that have either been in centers before or we've done in small group. Match and Cover activities are a perfect example of things I would use as a fast finisher/dessert tub activity.
Where to Find Centers?
In case you are thinking, well these tips for managing classroom centers are great… but I struggle to plan and put together centers! Well, I can help with that too! To start you'll find a ton of freebies on my blog that can be used for centers. A lot of them come with recording sheets. Feel free to explore and use the search button.
For example, you can find CVC freebies here and fall freebies in these posts. If you're not up for looking around and want to have centers put together in one place, I have LOADS of centers in my TpT shop.
All come with “I Can” visual directions, recording sheets for accountability, AND every center comes with a no-prep follow up practice page to help reinforce the skill. I'll leave links for you below.
If you're looking for monthly seasonal centers you can click on the link below to check them out in my shop. The individual months also available in bundles.
If you're looking every day themes that can be used throughout the year check out the 6 Pack Centers or the year-long bundle here.
And there you have it. 10 tips for managing centers. I hope you find these practical, useful, and easy to implement! If you have other tips, I'd love for you to share them in the comments!

